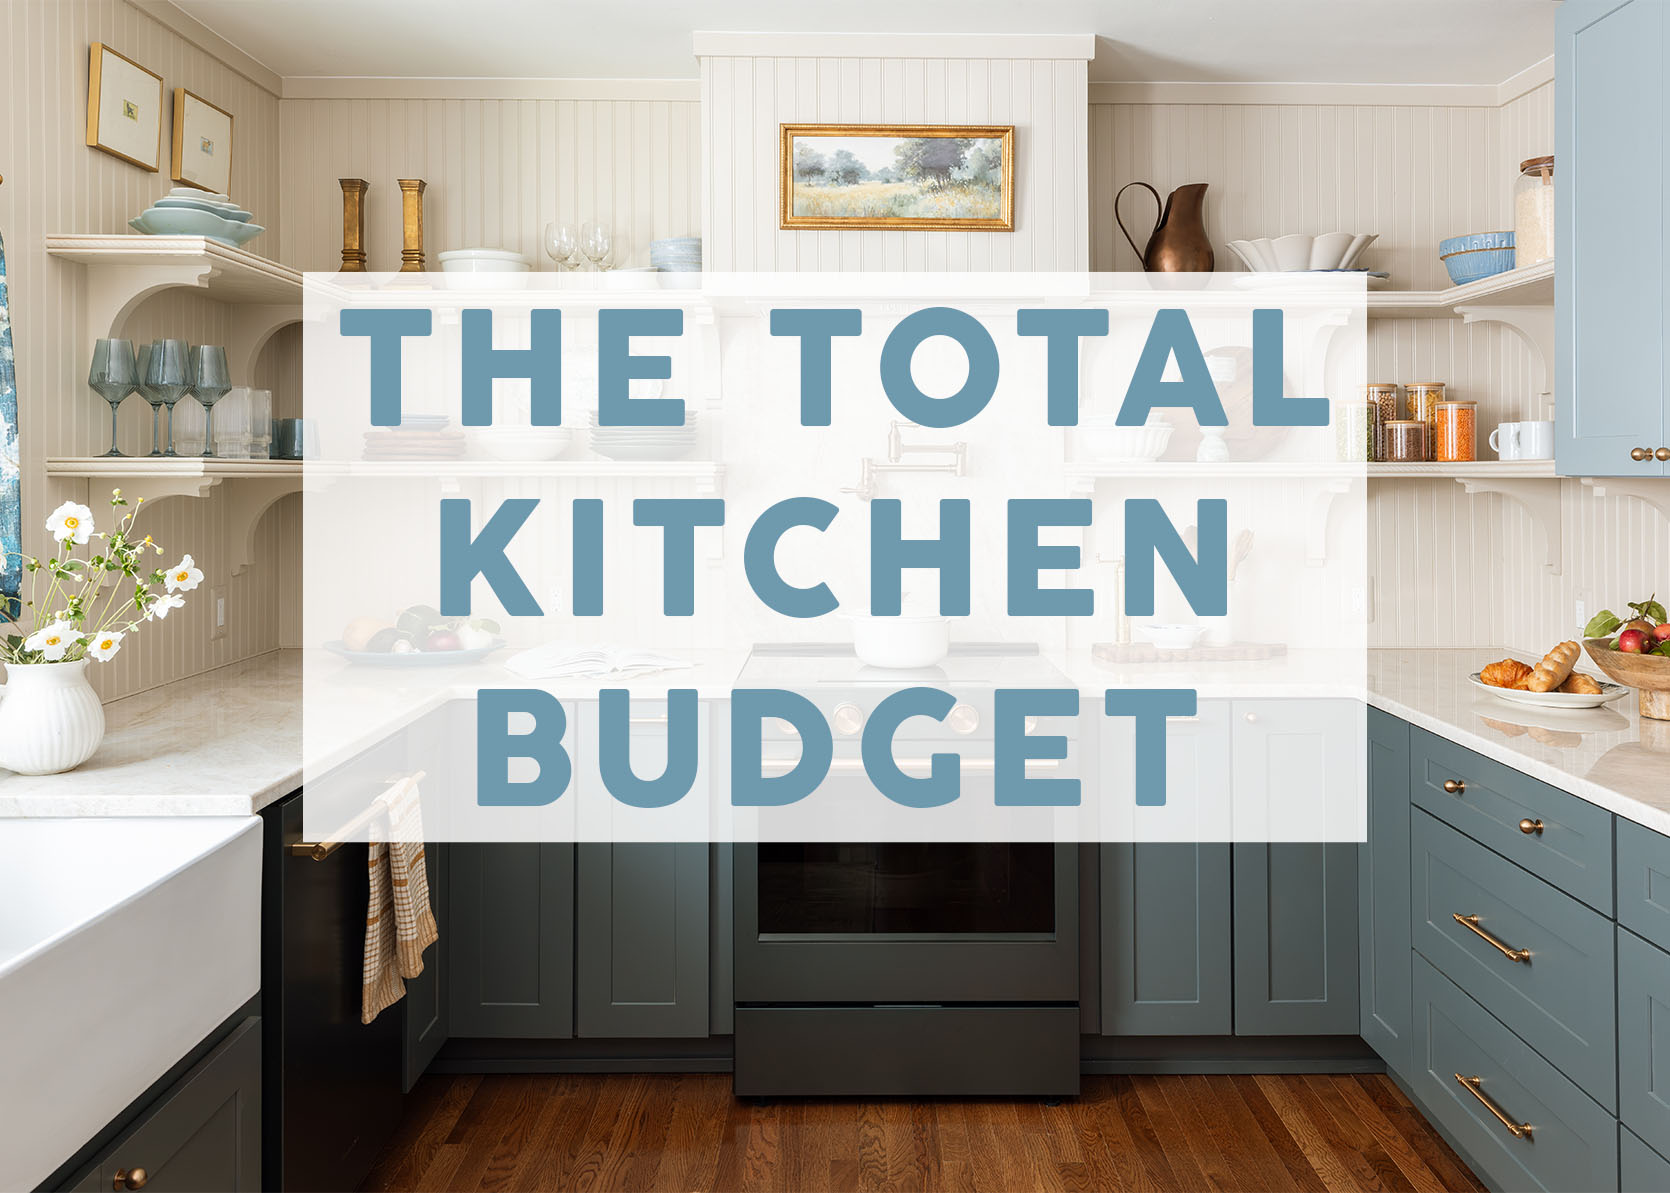
You asked, and we calculated. Today we are breaking down my sister’s budget kitchen remodel total cost, which we did in partnership with Lowe’s. I’ve written a few posts about the process (and obviously make sure you see the reveal here), so I might repeat some things for those just landing. Today I’ll break down what we spent from when we started the project. What is hard to calculate is our time and what it would be “worth” if we charged for it (for these makeovers we get paid from the partner to create the content, not from my sister). Here goes!
My sister and brother-in-law were already deep into their remodel before we began this project and partnership. So a lot of the work was already completed, making this budget breakdown kinda impossible to really add up accurately if you were starting from scratch. They had already finished the framing, rough electrical and plumbing, window openings, and drywall. Starting at this point was pretty awesome for us because they had laid it out really well and had already “placed” everything, so our job was to shop at Lowe’s for everything you actually see and design within these parameters. We didn’t reconfigure anything or even move an outlet (intentionally). Lowe’s covered materials and the flooring, cabinet, and countertop installation by Lowe’s vendors. We covered any outside labor. It was the most streamlined kitchen I’ve ever done because of their services. Let’s get into the numbers.

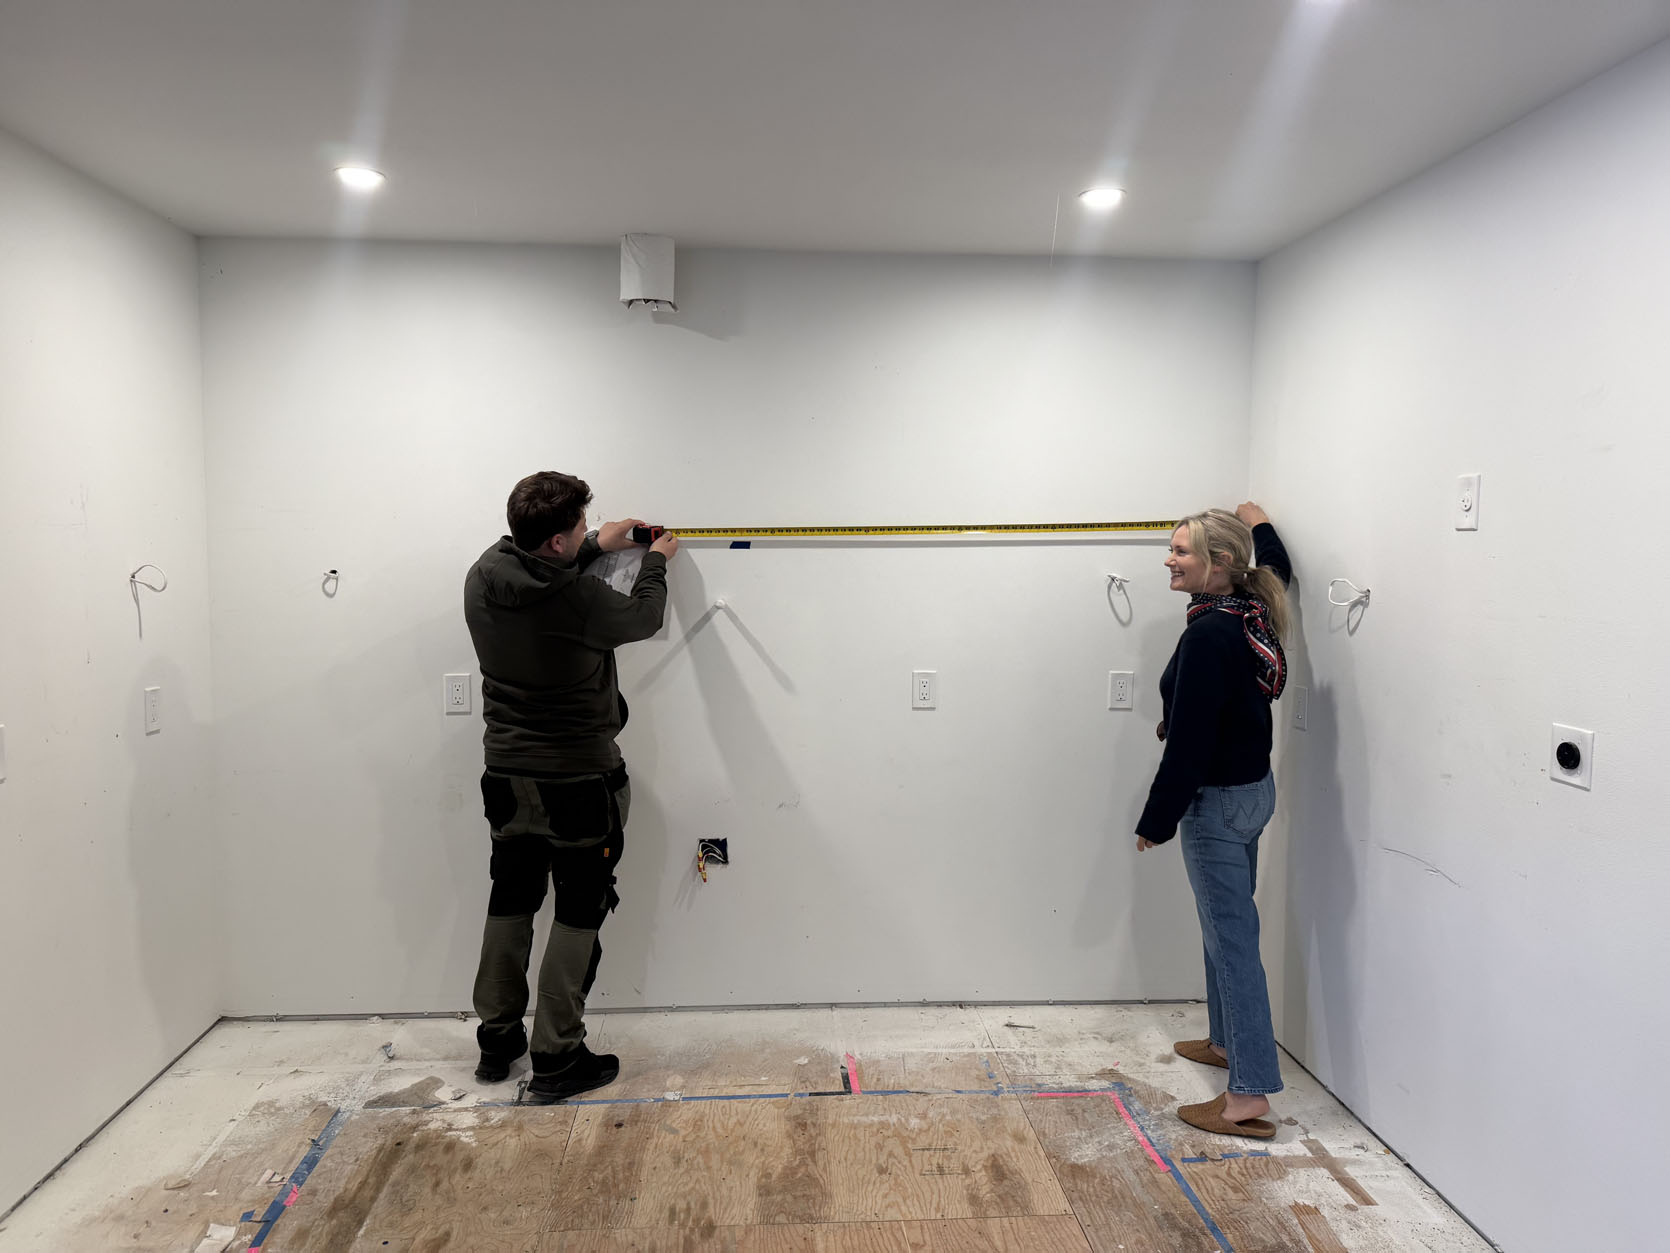
We met with Chris at Lowe’s to design and lay out the kitchen cabinets. To kick off the project and confirm the order is correct, Lowe’s sends someone out to measure your kitchen, ensuring everything will fit just right. This costs $75. This is to cover their time to design it all in case you move on to a different cabinet company.
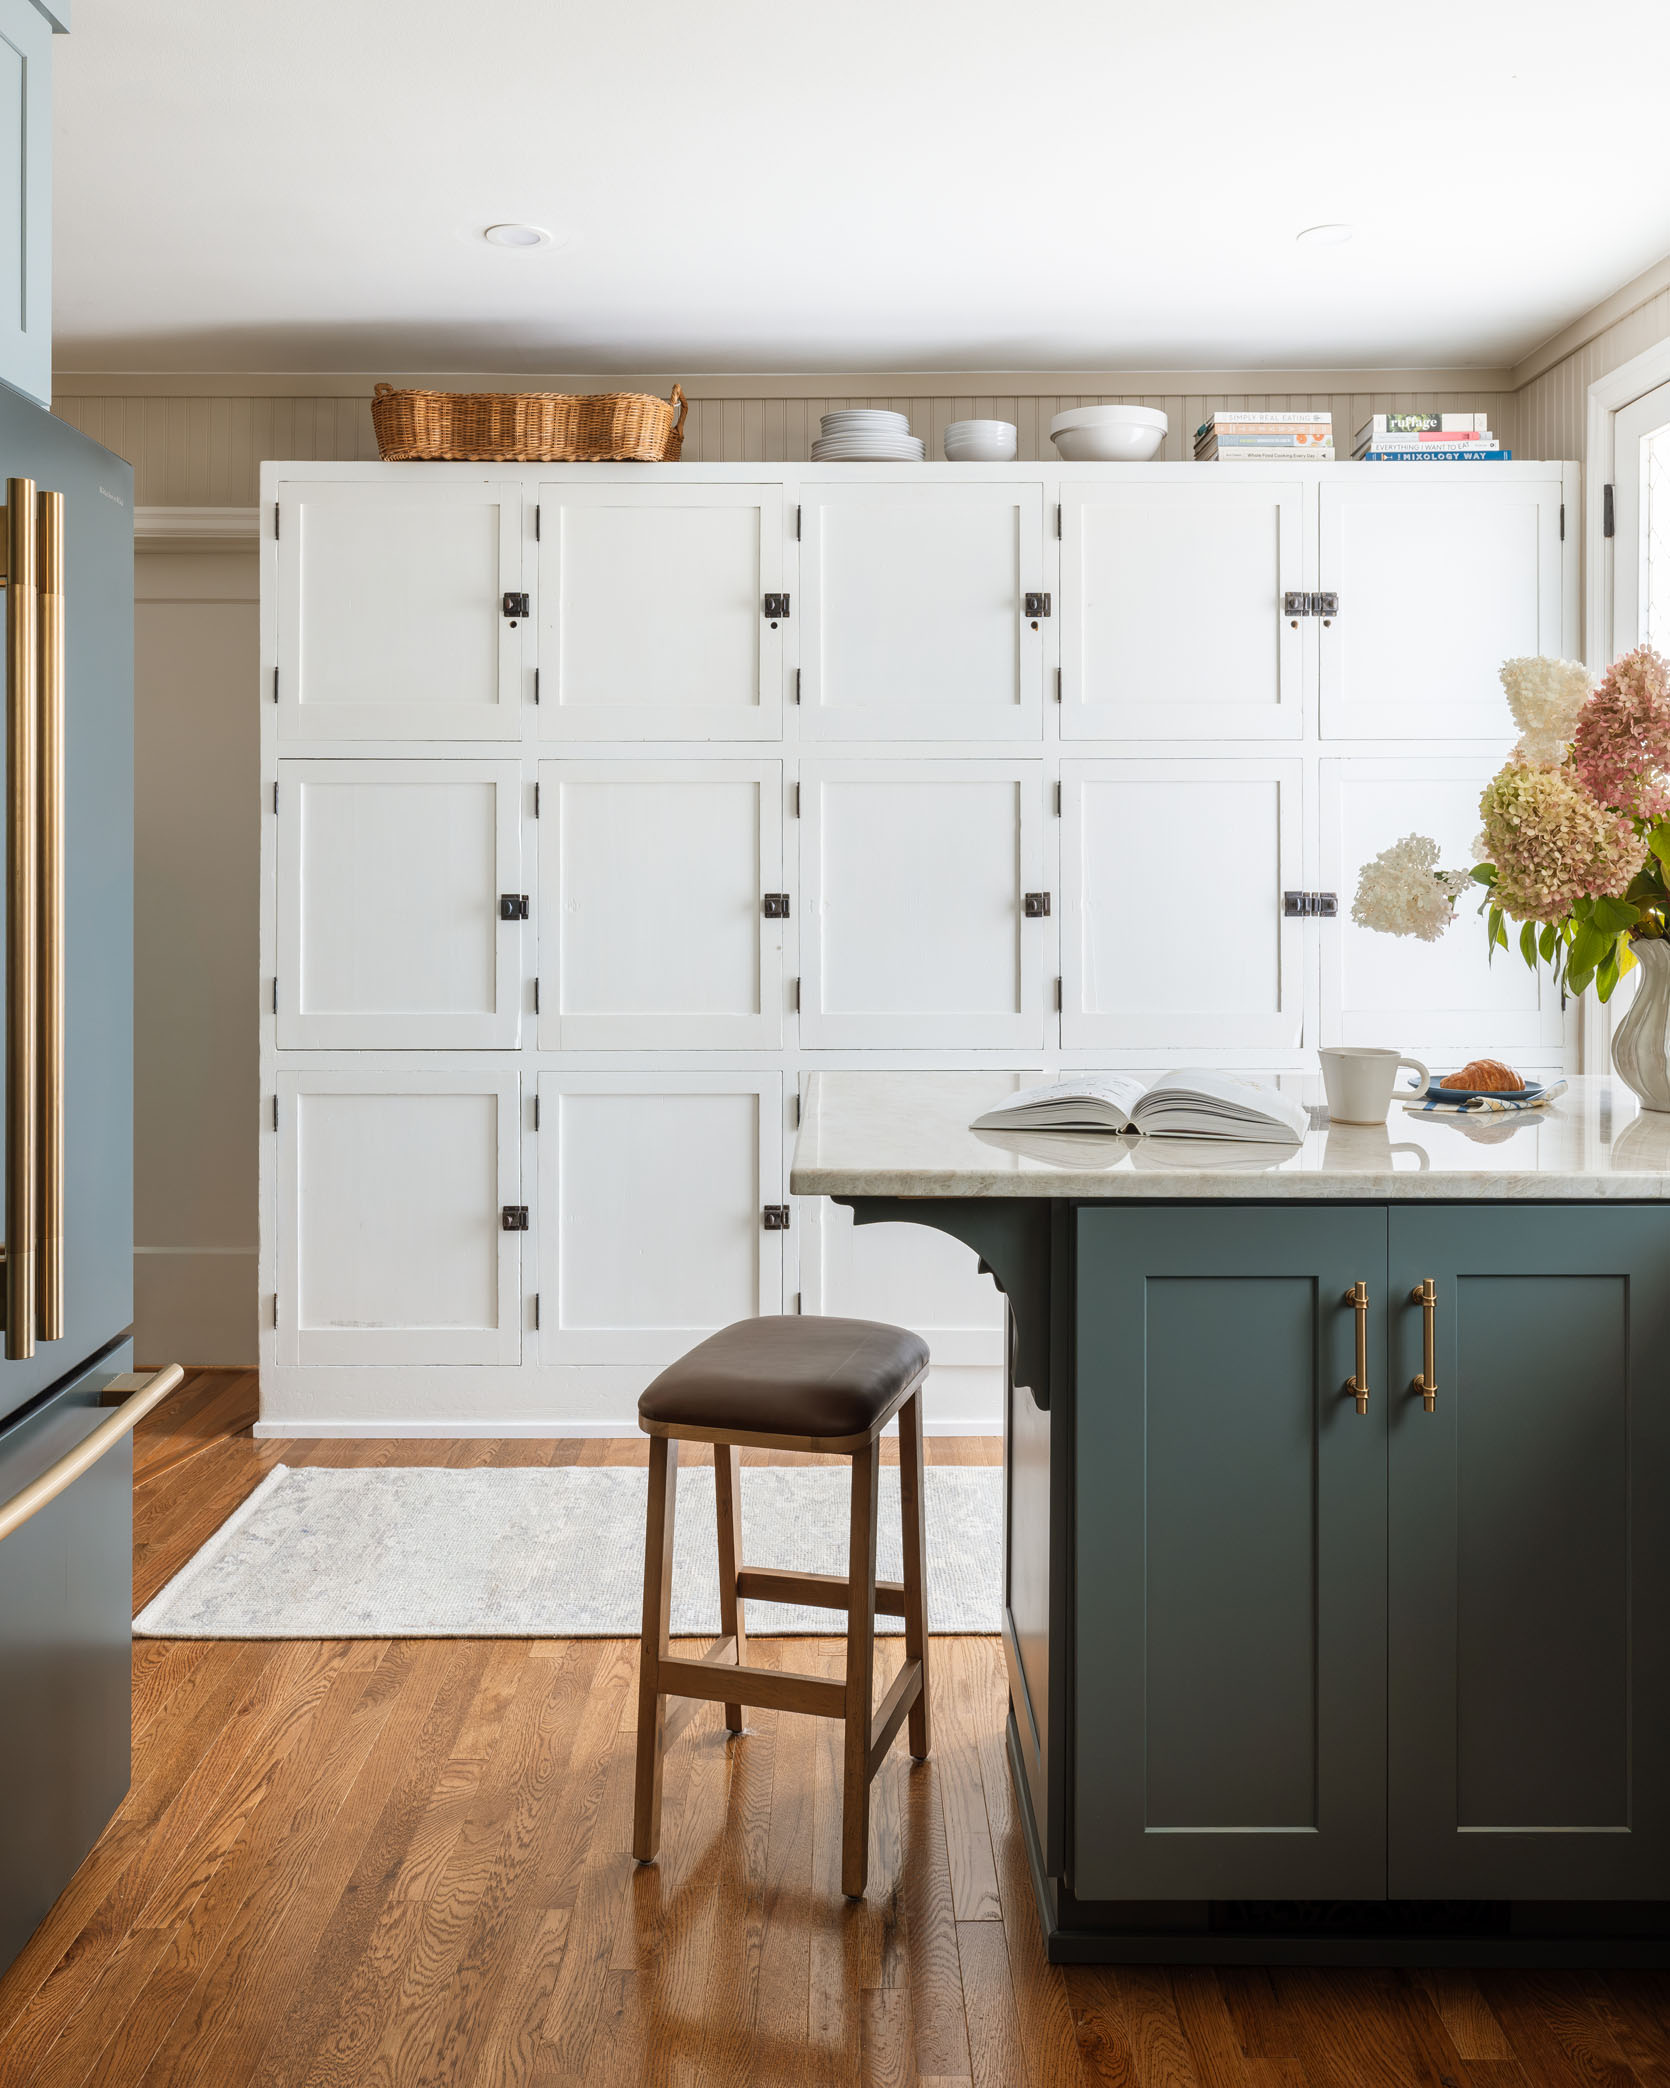

Bruce Hardwood Floors in ‘Fawn Oak’
We chose this wood floor (which we LOVED) for $4.79/sq ft or $105.38/carton. Michelle’s kitchen was 219 sq. ft., so the materials added up to $1,342.81. The flooring was installed in one day by one fantastic installer. The labor costs totaled $900.81. Lowe’s managed the vendor and set up the appointments (it was super streamlined). Now, full disclosure, the install rate will be different everywhere because from what I can tell, they are installed by an outside vendor that Lowe’s works closely with,. So depending on where you live, your Lowe’s would have different contracts with different vendors, so price could vary. As a reminder, we were so impressed with this wood. I was a hardwood snob before and couldn’t believe that something this affordable could look so good and classic.
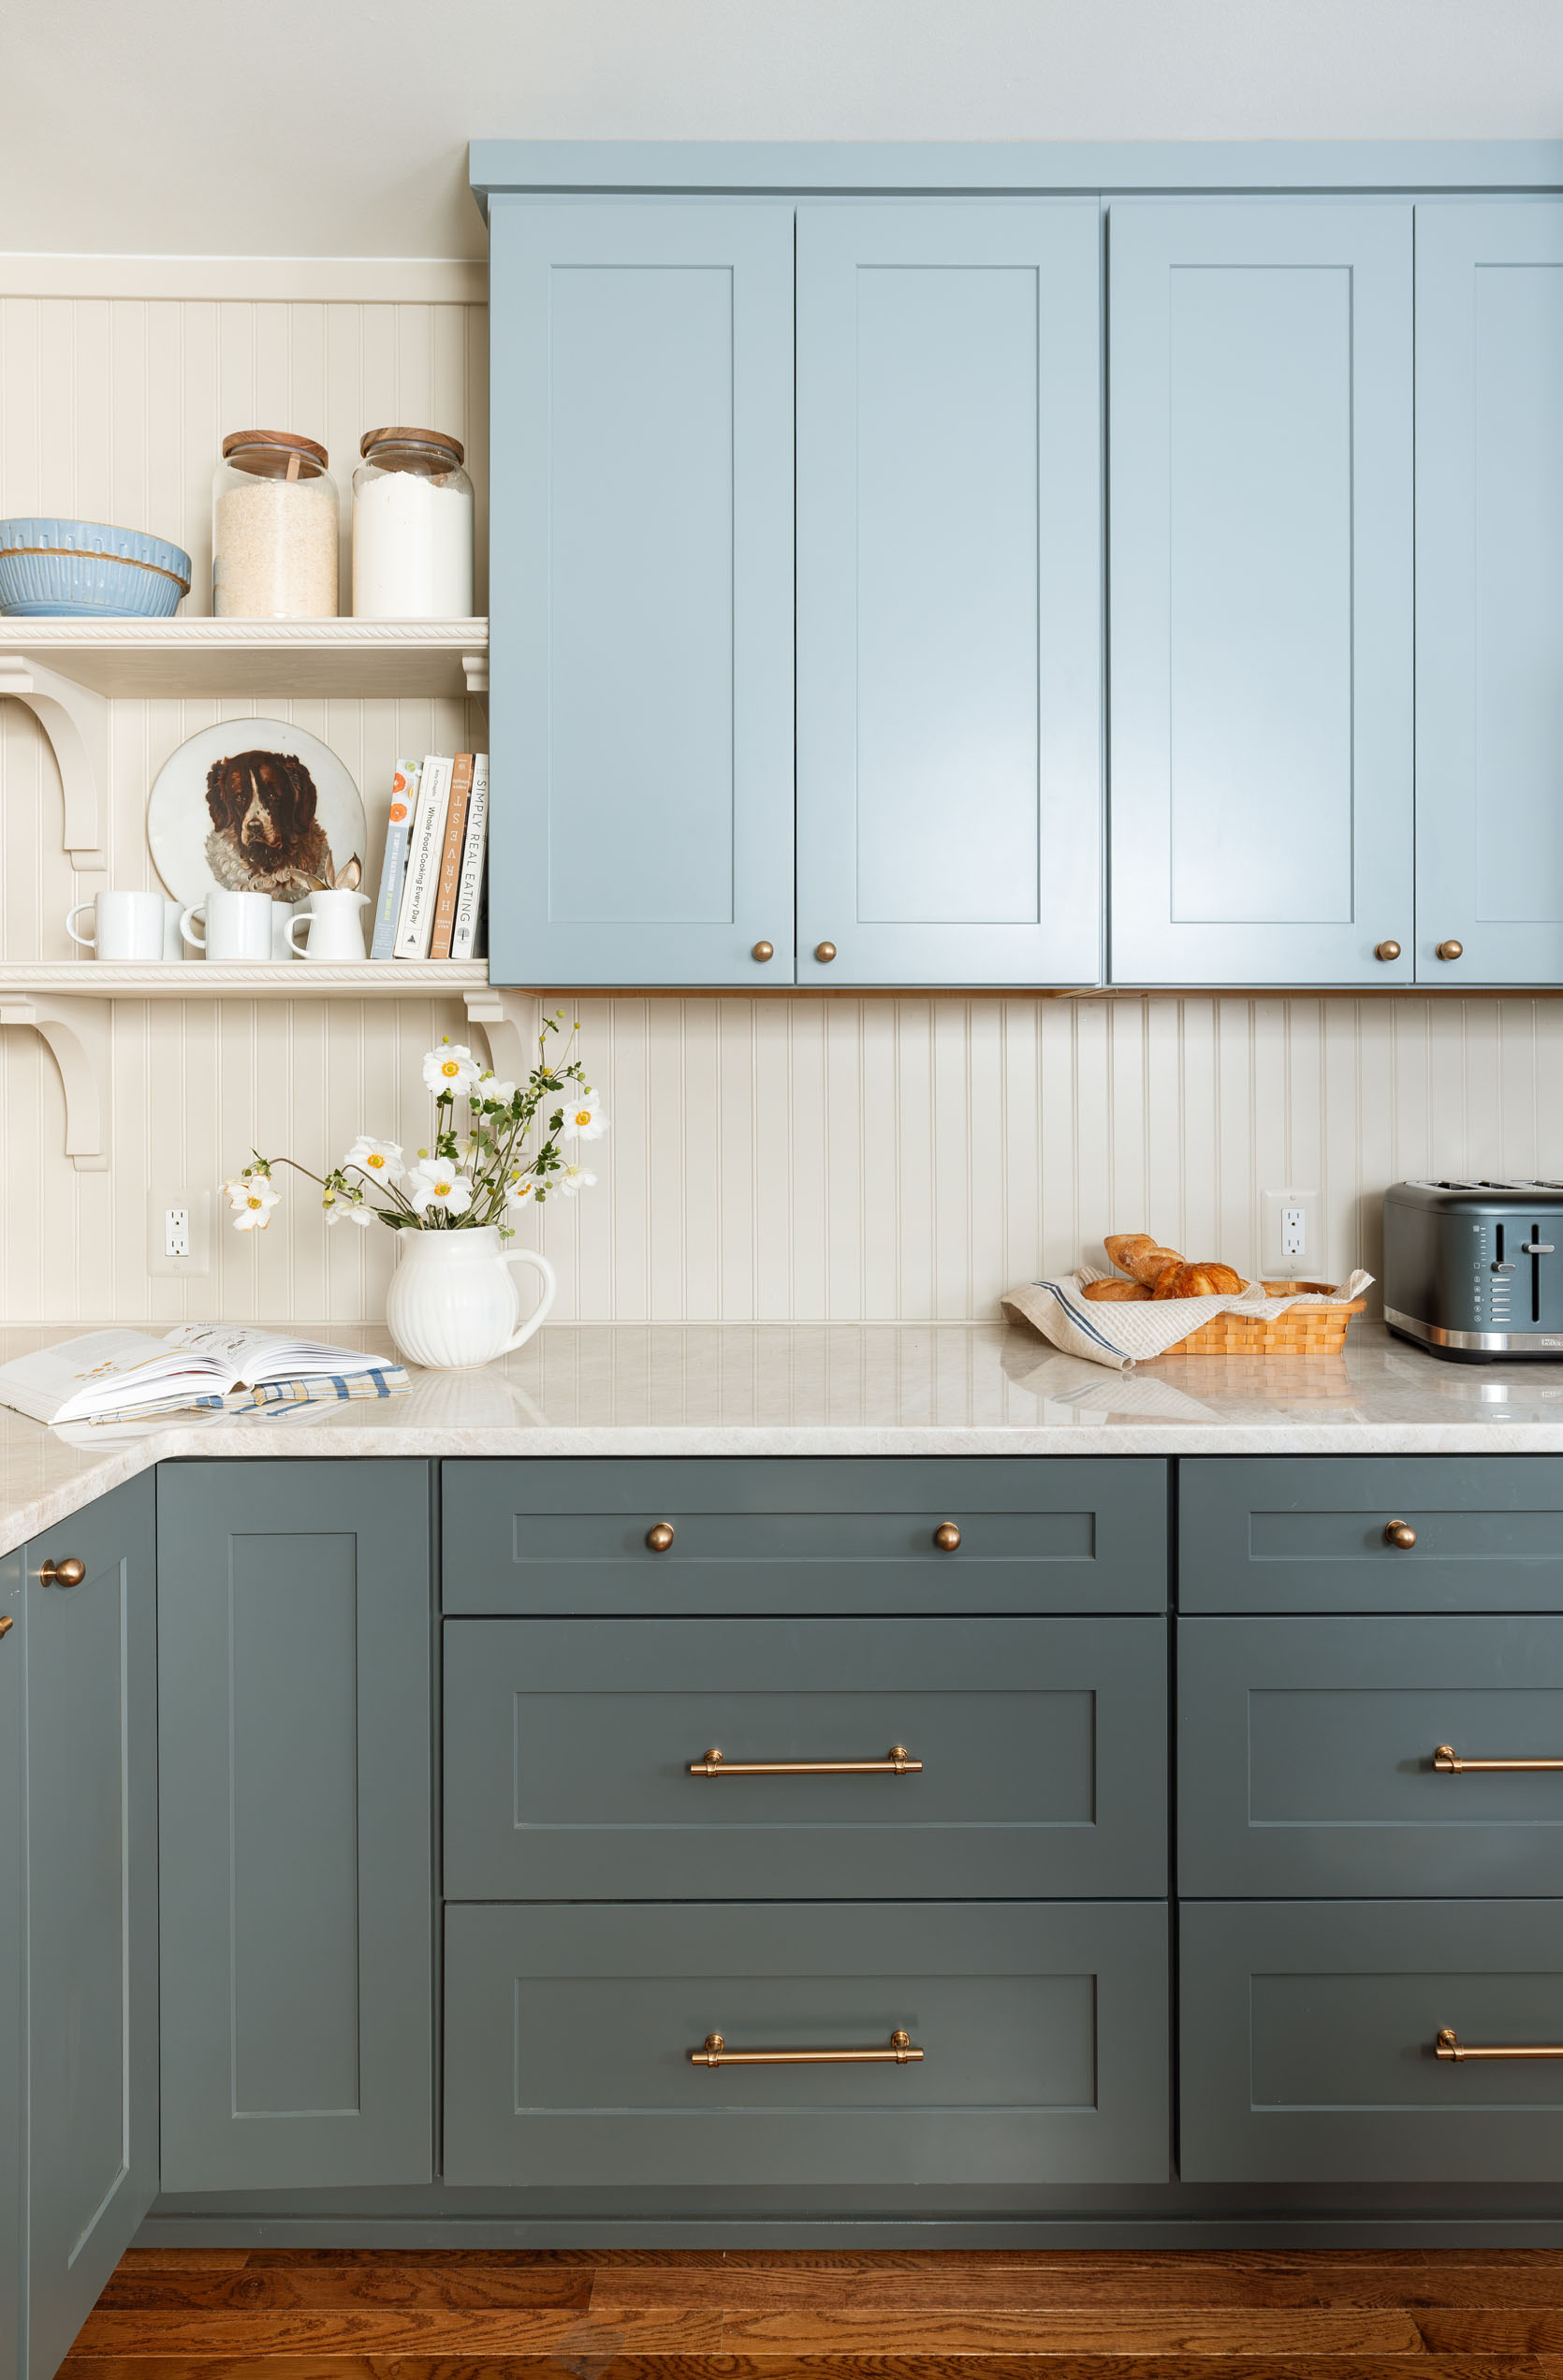
Upper Cabinets: ‘Tropic’ | Lower Cabinets: ‘Emma’
The cabinetry was and will always be the biggest expense (which is why we always encourage trying to paint or refinish what you have if you can). We fully broke down the cabinets in their own post last week, but the quick and dirty is that we chose two different lines (slightly different price points) for uppers and lowers. And we saved money by using a huge vintage pantry and installing shelving instead of uppers for part of the kitchen. If you are shopping at Lowe’s, here’s a cheat sheet on the cost of the cabinetry from least expensive to most expensive:
Diamond Express | Allen & Roth | Shenandoah | Diamond Express Plus | Diamond Intermediate | Kraftmaid-Diamond Advanced | Schuler
Cabinets with 30% discount: $16,294.96
Cabinet Install Labor: $4,037.96


Electric Range | Brass Knobs | Refrigerator | Brass Handles
The appliances were fantastic and so pretty (they drove the whole color palette). They definitely aren’t the cheapest line, so this could be somewhere you could save money, but they are also just so prominent (especially in a smaller kitchen), so having them all be as streamlined as possible will keep it from looking too cheap. Here they are broken down:
Fridge: $2,463.12 + $359.10 for brass handles
Electric Range: $1,601.11 + $337.46 for brass handles
Rangehood Insert: $209.98
Dishwasher: $1,221.06 + $189.05 for the brass handle

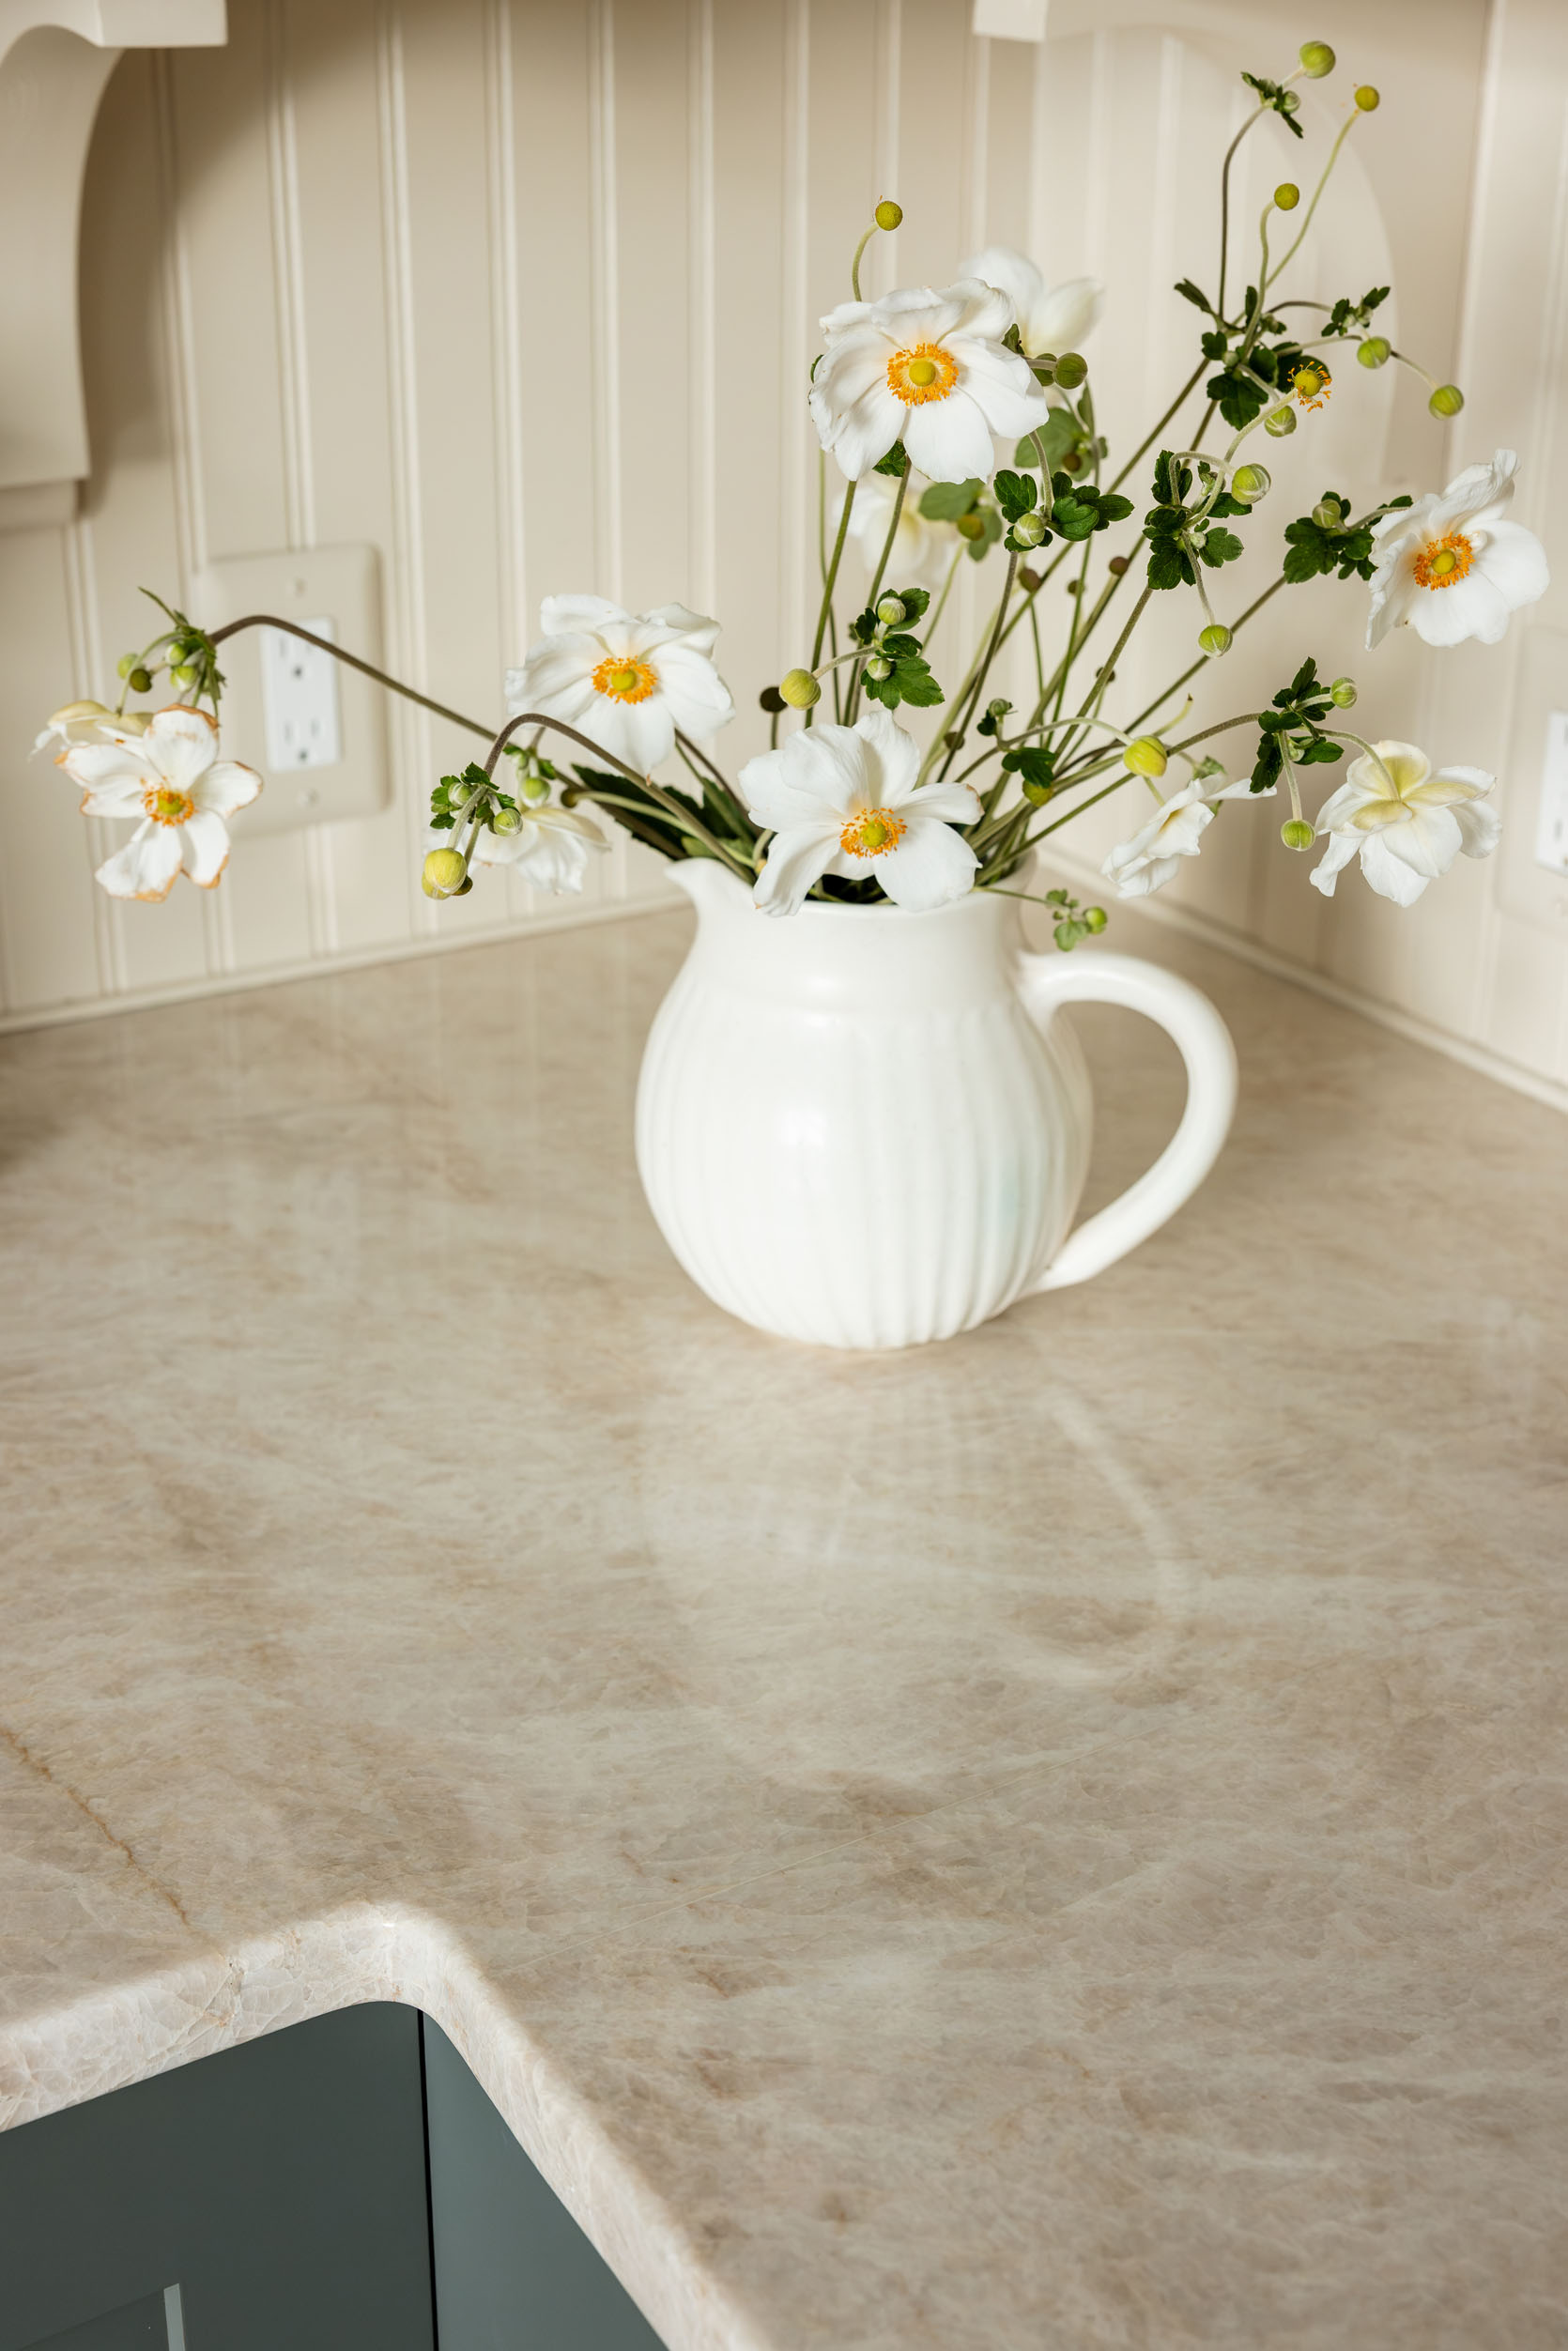
This was one of the places where we splurged. Lowe’s doesn’t break down the cost between materials and installation. In my experience, it’s specific to the stone because if it gets cracked or broken during fabrication, they have to replace it, so I would imagine the install cost increases with real stone that is slightly more expensive with Lowe’s, too. We estimated what it would have cost if we used Organic white Caesarstone (which is one of my favorites for engineered stone), and with the current promotion it would be around $6k. So that is a substantial savings of almost $5k from what ours cost. Lowe’s most popular option (if you are curious) is Golden Sky(D Grade), which is a faux veined engineered stone; the price with the current promotion would be around $9,662.70.


Hot Water Faucet | Faucet | Sink | Pot Filler
This is one place you could have absolutely saved. Michelle had already plumbed for two things that are a nice-to-have, but not a need-to-have: the pot filler and hot water faucet (they also plumbed and planned for a pebble ice machine, which we capped and nixed). So as you can see below, that could have saved a lot. Garen already had the disposal, so that’s not included here.
Farmhouse Sink: $275.08 (This is a GREAT place to save. It looks as expensive as fancy ones!)
Sink Faucet: $258.99 (we chose this faucet because we had to choose one that had a full suite that we liked, but it’s great on its own)
Hot Water Faucet and Tank: $549 + $389. Uh oh. Ok so annoyingly, our brass faucet didn’t come with a hot water tank, so we had to buy another one separately just for the tank. We didn’t know this up front, obviously. It did come with a silver faucet, so if your main faucet was nickel, this is a much more affordable choice.
Pot Filler: $789
So nixing the hot water and pot filler would have saved us over $1,700!
I can’t do cheap hardware. In fact, I would prefer painted wood knobs over cheap metal ones. We touched on this in the cabinet deep dive last week, where you saw all the options we were considering. We spent $326.46 on knobs and pulls for all the cabinets. Knobs were about $8 each, and our long and short pulls were $19 and $14, respectively. These were on the more expensive side, for sure, but absolutely worth the extra couple hundred dollars, I promise.
This was a fantastic place to save money. Sure, there are cheaper fixtures out there, but this one looked higher-end than that price and yet wasn’t splurgy at all. Michelle and Garen had already installed recessed lighting before we started the kitchen design, so if this number seems low, it’s because it is. This $167.99 covers the one pendant light above the kitchen sink. The rest were recessed lights already installed.
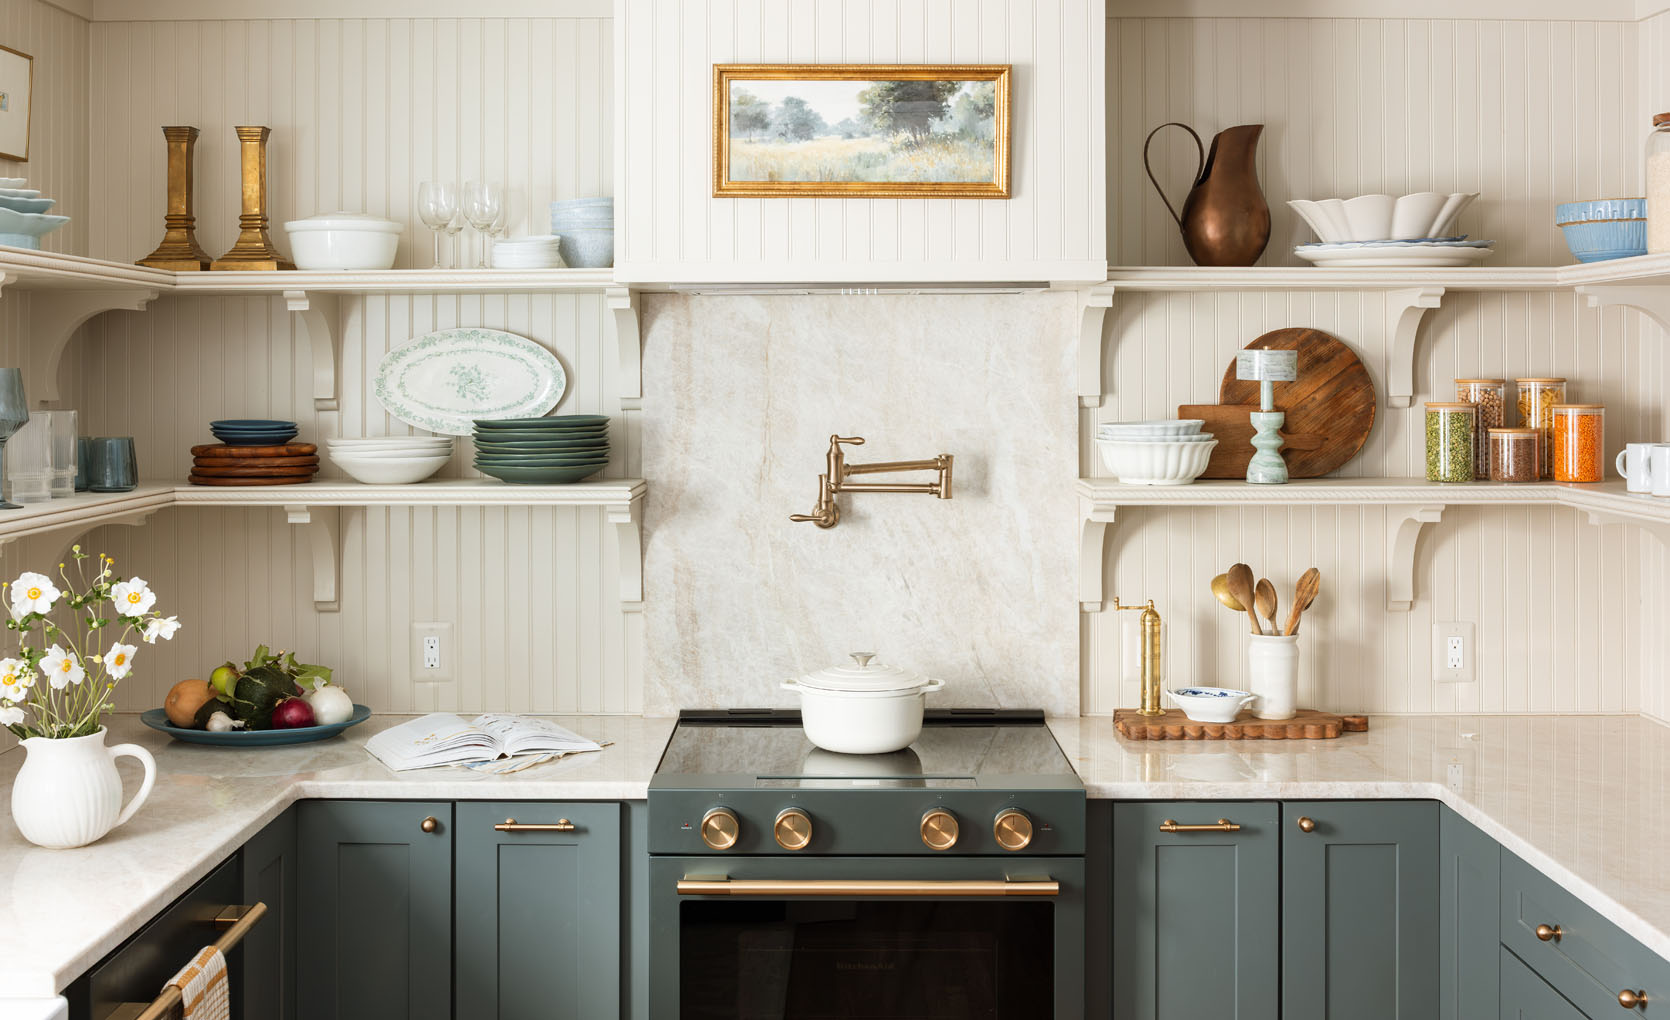
My brother hired a finish carpenter to do all the beadboard panels, hood box, shelving, and brackets.
10 beadboard panels: $267.60.
18 wooden brackets we needed for the shelving and to support the peninsula overhang: $327.96.
Wood and decorative trim it took to build out the shelves: $453.60.
The finish carpenter charged $2,600 to install all the panels, build the hood cover and shelving, and secure it all to the wall.
We hired a team of painters to come in and spray the room and paint my sister’s large vintage cabinet. Painters did the job for $1,500, and we estimated that we spent about $350 on paint and supplies. Now this is a place where we could have saved by DIY. The reason this was even this low is because we specifically didn’t change finishes or paint colors, which requires so much more time/labor. So the walls, brackets, shelves, and trim were all the same paint color and finish, while the window, door, and vintage cabinet were white to add some variation. But if we had chosen to do the brackets and shelves in a different color than the walls, it would have taken twice the time, and thus cost twice as much (we used the Forte line from Sherwin-Williams in satin finish – this is a self-priming, self-leveling paint that is super durable).

Of course we styled it out, but a lot of those things were things that I had in my inventory or were vintage (some she kept, many she didn’t). So this cost is for the remodel cost, not the styling and decor.
Garen is handy when he’s not busy running his window company, so he installed the appliances, and he and Ken did some of the finished plumbing. So yes, he’s a window expert (he owns a company where they keep the vintage frames and double-pane the windows on site, which is so cool), so he installed the new big window.

Now trying to calculate my time, Gretchen’s time, and my brother’s time is kinda hard. As you know, designers and contractors are expensive to hire, as they should be. I think I spent probably 50+ design hours on this (not including the photo shoots, content creation, or negotiation of the contract, which most designers don’t need to do). Gretchen probably did more, let’s say 60, since she did all of our Spoak renders and did more of the ordering and project management. I’m not sure of the going rate for designers, so let’s say for me its 200$/hour (I have no idea if that’s accurate) and $100 for an associate designer/project manager. So maybe I would have been $10k and Gretchen $6,000 (adding another $16k to the projected cost). And then my brother, a contractor with Afore Construction, spent around 10-15 hours on the job, but didn’t charge us (I tried to pay him, but he’s a real caretaker of a brother and was like, “nah, it’s for my sisters,” which is very sweet).
I would imagine all the construction prior to arriving would be 20k+ (they were doing the whole house so hard to parcel out just for the kitchen).
So yeah…. Kitchen remodels are expensive, and they seem to be going up, not down. Here are the ways you can save:
I hope this is so helpful. I’ve done 10+ kitchens now, so I have more experience than a lot of people, but I’m sure other more experienced designers (kitchen-specific designers) can weigh in and give even more ways to save. My #1 tip if you just want a “better” kitchen but not necessarily a “designer” is to paint your original dated cabinets. Here are a few kitchen-specific posts that can help!
Reveals:
Design Tips:
*Photos by Kaitlin Green


Thank you for the honesty and transparency! I always get curious what actual costs would be.
And beautiful work!
I always appreciate cost breakdowns, so thank you. One note about a saving money with a refrigerator without bells and whistles: our home has a good-sized fridge with water and ice. Its water line wasn’t functioning properly when we moved in, and I had it removed altogether while remodeling the kitchen. I’d never had these features and frankly don’t see the point. I do like having a larger fridge than the standard “apartment size.” We kept the old fridge to hold off on one piece of kitchen spending, but now it’s time to upgrade and I am STRUGGLING to find a simple, basic fridge that’s 31-33″ wide without the unnecessary bells and whistles. I don’t want to say that I regret removing the water line, but it would have made choosing a fridge much easier. There would have bee many options and many chances to find something on sale. Instead, I’m over here, pricing out Fisher & Paykel, which is a very reputable brand and the only option I’ve found that gives me the streamlined look I want in the right size without the features I don’t want [and now realistically couldn’t get]. All of this is to say that… Read more »
So frustrating! I hate that streamline and simplicity IS a bell and whistle 😫
We have a Fisher & Paykel fridge and love it. I found a brand new one on eBay that was more than half the price because of some dings on the sides. Fine by me – not seen anyway! It offers that streamlined look, nice open interior and is in perfect working order 5 years later. Yes we have ice trays to refill but a simple labor imo. I highly recommend this brand. And any “inconvenient” appliance really! Bells & whistles usually break.
I also love our FP without water or ice maker. 11 years zero complaints…touch wood. Keeping it despite a full kitchen reno.
OOh that’s a great hack – buying “gently used” ebay with dents on the side. And yes, I always hope that people from these big brands listen and stop designing so many “smart” functions that breakdown or require apps to use, or unnecessary bells and whistles when most of us just want things to “look good and cook good” as I say.
I guess I find the cost out of reach. It is really well thought out but for an average
$75,000 income it is not doable.
I would have to do without new cabinets in my 60 year old home. Have you considered posting how someone might paint kitchen cabinets?
I think adding color to all white cupboards would be a game changer.
I just want to add that there are potentially several options to consider short of a full remodel [but more extensive than replacing knobs and handles]. You can repaint, as you mentioned, and also potentially reface. Perhaps see if reconfiguring your cabinets is an option, maybe combined with repainting or refacing. Lastly, you could look into replacing your cabinets with new-to-you salvaged ones. I went this route and spent only $750 on the full cabinet set [hardwood, amazing quality, custom-made for some rich person’s kitchen]. Most of my budget went to hiring a contractor with the right set of skills [not easy to find!], for a grand total of about $16k including all appliances.
Yah keeping your cabinets and general configuration saves so much money. Cabinets truly are the biggest cost. We’ve written a lot of posts about painted kitchen cabinets but not necessarily ‘how to’ but there are a lot of youtube videos out there by DIY-ers that do such a great job (and are more experienced so would give you more and better how-to advice). Remodeling has gotten so expensive. You are not alone. xx
Take a peek at all of the posts we linked up at the end of the post:) Here’s one that Rashida wrote about painting her cabinets: The RIGHT Way To Paint Your Kitchen Cabinets and Save $$$ (Factory Finish Guaranteed)
I just want to chime in here and say that when we had new countertops and a new sink installed, we also had our cabinets (doors and exterior frame) professionally repainted, and it was worth EVERY hard-earned-American-dollar.
im repainting my kitchen cabinets myself, getting new knobs, new stone countertops etc for my face-lift kitchen renovation! im posting about it on my instagram semi-regularly 🙂
@ohcondo.mycondo
Some people post their cabinetry on Estate Sales websites. That is cabinetry that’s less than 20 years old, all wood. Usually, it takes them a long time to sell. Perhaps they are just looking for someone to come in and remove it gently so that they don’t have to pay for that labor and to ensure that their kitchen finds a new home. At least that is my assumption. If you buy those cabinets, paint them, switch out the knobs, and change or add trim, you might end up with an almost-new, good-quality kitchen. I know the sizing makes it tricky. But you can always rebuild one or two of the cabinets to make sure everything fits as needed. Also, those houses come with huge kitchens, so there’s really a high likelihood that you find the right cabinets for you. So many wealthy people are removing kitchens, and even marble from bathrooms, because it doesn’t fit their style. But repainting, rebuilding some of it, adding a different style and trim, and so on, might produce a nice, unique, and beautiful result. Almost everything can be changed or rebuilt to fit your preferences. Please check Estate Sales. A few of them… Read more »
Big thanks to you and your sister for being willing to share so openly on this!
I actually find cheap appliances (those without bells and whistles) last longer than midgrade appliances.
Ooh interesting. Which ones? I bought Speed Queen washer and dryer after being so annoyed at fancier ones breaking down or smelling like mold (or having a frustrating amount of tech). I asked my sister who at the time was working for an appliance repair company, what washer/dryer never has to be repaired and she didn’t hesitate, “speed queen”. So now i ask plumbers what toilet never needs to be repaired or any expert trade what they use when I have the chance. But kitchen appliances hold so much design weight and I need them to look good so its a harder choice!! I rely a lot on reviews now (but always harder with a new product, obviously).
It’s still an astronomical sum of money for the majority of Americans. I wonder if we’re going to have to rethink our whole approach to home beauty and functionality if necessary things keep getting more expensive (food, health insurance, gas, etc.). To that end, I would LOVE to see some posts where necessary updates happen not solely cosmetically. For example, my own kitchen is from 1964 and in need of an update: it’s never been touched. But it is HUGE. The lowest quote we’ve got, for basically IKEA-level/builder-grade and NO stone and NO appliances, is in the mid 200Ks which is just insane. We’re now thinking about some half-way approach that does not require moving plumbing or electrical or even changing out the carcasses of the outdated cabinets but when looking for inspiration, there is not a great deal of comparanda out there. People have either done a cosmetic fix (and the Henderson team is awesome at this!) or a deep renovation: there is not much in the middle. I’d be absolutely stoked to see some mid-range “revamps” that really center on affordability and longevity.
I think my current kitchen reno is in the mid-range revamp area. The scope includes: replacing cheap cab doors with solid core MDF doors. ordered online for the measurements I need. All my cabinets are face-framed, and im going with partial overlay doors, as that is what I had before I replaced them. im priming and painting the pdfs with a great taupe color in high quality BenMoore paint. ordering awesome knows off of Etsy. about $8/pop. A lot of very expensive hardware is $30 – $50/pop my existing travertine floors are sooooo bad. uneven, chipped, gross. I used floor pops to cover for now. down the line, id love to do new terrazzo floors. I am buying new appliances, but again, it will be slow/phased out. I am going to redo some electrical, but not a huge priority, and will come. Im estimating I’ll send $30k over a year or 18 months, especially bc I want new appliances. The part about renovation no one talks about: if you are living in it, it will be slow. and it should be slow. As the homeowner and habitant, you have the privlege of living in your choices as you commit to… Read more »
Kitchen and baths are almost the most expensive rooms to renovate because of everything that is involved. That’s one reason why it is not unusual when looking at homes to find one or more components in need of an update: people had to/chose to do their reno in stages as they have the funds available.
Are you still planning to detail the bracket math you used? I’m mostly curious about the shelf brackets and the weight you’re putting on them. The ones you linked have a 5 lb weight limit.
Hi! They are solid wood and a lot of them, and they were anchored into wood (we reiforced the wall behind them for this exact reason), so they are super super strong and can handle a lot of weight. We put this post on the back burner but I’m happy to resurface it and share! I was mostly wanting to share all the heights and depths and learnings (like what height in between shelves is best for actually reaching and putting things away, what depth is best for dinner plates, etc). Happy to re-prioritize it people are interested!
Thank you! I’m super interested. 🙂 Looking forward to doing something similar.
Great article! I really enjoyed reading these home decor ideas. Creating a beautiful and comfortable home doesn’t always require a big budget. Simple things like choosing the right colors, stylish furniture, proper lighting, and creative wall decorations can make a huge difference. Thank you for sharing these helpful tips and inspiration. Looking forward to reading more home decor ideas!
Emily, I so appreciate these more budget conscious posts and your recommendations on where to not cut budget (hardware)